Unleashing Creativity in Candle Making Basics
Candle making is one of the oldest and most timeless crafts still in practice today. Almost anyone can learn how to make candles and actually turn it into either a fun hobby or an income stream with their own shop. Have you ever wanted to learn or perhaps dabble a bit into chandlery? Let’s dive deeper.
Understanding Candle Making Materials
Kaboom! You’ve been hit by the inspiration bug. Your inner muse is suggesting you explore the enchanting realm of candle making. With every new artistic endeavor comes the question, “what supplies will fuel this creative adventure?” Do not fret, fellow artisan. A hearty checklist to track down your materials awaits you herein.
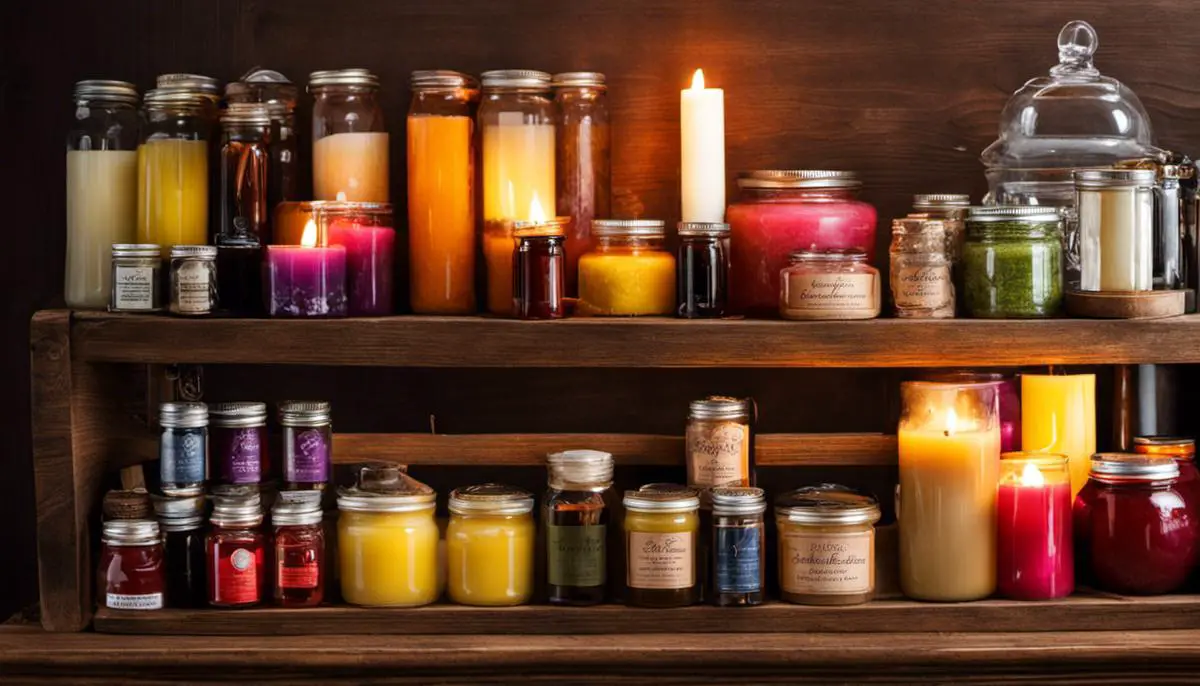
- Wax: Where magic begins in the world of candles. There’s a palette of options: Soy wax, paraffin wax, beeswax, palm wax, and gel wax. Each varies in terms of hardness, melting point and scent retention. For beginners, soy wax remains strongly recommended due to its ease of use and environmental friendliness.
- Wick: Consider this the backbone of your candle. Cotton wicks are widely accepted, but wooden wicks can add a wonderful aesthetic touch. Remember, the diameter of the wick must match the size of your candle for optimum burning.
- Molds or Containers: This is where the wax finds its form. Glass jars, tin cans, or silicone molds – let your creativity guide you. Just ensure that your chosen vessel can withstand heat.
- Fragrance Oils: How about a soothing lavender or a refreshing eucalyptus? Maybe the robust aroma of freshly brewed coffee? Candle making allows you to conjure sensory symphonies with an array of fragrance oils.
- Dyes: Ready to paint with all the colors of the wind? Dyes help personalize your creation, bringing it to life with color. Keep in mind that for every pound of wax, you’ll need approximately 0.2 ounces of dye.
- Double Boiler: For any wax alchemist, a double boiler becomes a dear companion. It is essential for melting wax safely and effectively.
- Thermometer: When melting the wax, achieving the correct temperature is essential to ensure a smooth, bubbly-free surface. Broach the perfect heat with a trusty thermometer!
- Wick holder & Centering Device: Picture a beautifully crafted candle marred by a lopsided wick – a horrid sight! A wick holder ensures straight wicks while a centering device keeps everything in proper place.
- Starters Kit: Purchasing a starters kit can be a useful route, especially for beginners, furnishing fundamental materials in one accessible package.


Remember, with candle making, your imagination becomes your canvas and these materials, your brushes. As wicks dance to flames and scents fill spaces, you’ll marvel at the joy derived from crafting your very own candle. While the dance of the flame enraptures the senses, take a quiet moment. Congratulate yourself. Another artistic endeavor navigated, another creative journey begun.
Through candle making, we not only illuminate our surroundings but also ignite personal expression, creating a symphony of shadows, light, and scents. Thank you for joining the dance.
Learning the Candle Making Process
The Steps to Crafting Your Very Own Candle Masterpiece
Art, in its manifold expressions, continually seeks fresh canvases and mediums for expression. Venturing beyond the realm of paint and clay, one discovers the enchanting domain of homemade candle-making. Here, an amalgamation of sensory experiences culminates in a tangible piece of interactive artwork – your very own homemade candle. Here’s a step-by-step guide to kick-start this exciting journey.
Affirm Your Blueprint
Every masterpiece begins as an idea. What does your mind see, taste, smell, and touch when it imagines your completed candle? Consider tangible qualities like size, shape, and color, as well as intangible associations like its mood or occasion. This creative visualization will guide decisions throughout your candle-making journey, much like a blueprint.
Preparation is Key
While the selection of wax, wick, mold, fragrance, and dye forms the skeleton of your creation, it’s the strategy in preparing these elements that breathes life into your candle. Align all your materials on a clean, heat-resistant surface. Employ a double boiler to safely melt your chosen wax. Monitor the wax’s temperature using a thermometer, aiming for about 180°F.
Wax, Meet Fragrance and Dye
Once your wax has fully melted, introduce your selected fragrance oils and dyes. These additions fortify the melted wax with personalized characteristics that will define your candle’s color and scent.
Pour Wax into Mold
Now comes the time to marry the prepared wax with your pre-decided mold. Pour in the wax slowly, careful not to introduce any air bubbles into this delicate relationship. Once filled, it’s time to position the wick.
Positioning the Wick
Using a wick holder or centering device, position the wick precisely in the middle of your mold. Ensuring the wick is centered will guarantee your creation burns evenly and maintains its beautiful aesthetics throughout its life.
Let It Set
With the wick situated, it’s time to let the creation set. Patience wields magic in this step. Allow the candle to cool undisturbed until it hardens completely.
Finishing Touches
As the wax firmament hardens, your artistic vision materializes. Trim the wick to an ideal 1/4-inch length and gently remove the homemade candle from its mold. Your masterpiece stands before you — a living, breathing embodiment of your creativity.
Candle-making conjugates art and utility in a whimsical dance, igniting the senses and unearthing the hidden artist in us all. Whether you’re just about to embark on this creative journey or are already exploring the depths, remember that every step reveals a unique canvas to color with your creativity. As always, the journey of the artist is not just in the art, but also the making.
Improving Candle Burn Time and Safety
The Art of Maximizing a Candle’s Burn Time
Akin to the ebb and flow of an ocean wave or the rhythm of a pulsating beat, the flickering flame of a candle can hold a captivated audience in its gentle sway. As artists of this soft, meandering light, it is our responsibility to ensure that this tranquil dance persists as long as possible, while also ensuring it ensues within the confines of safety. How do we achieve this delicate balance?
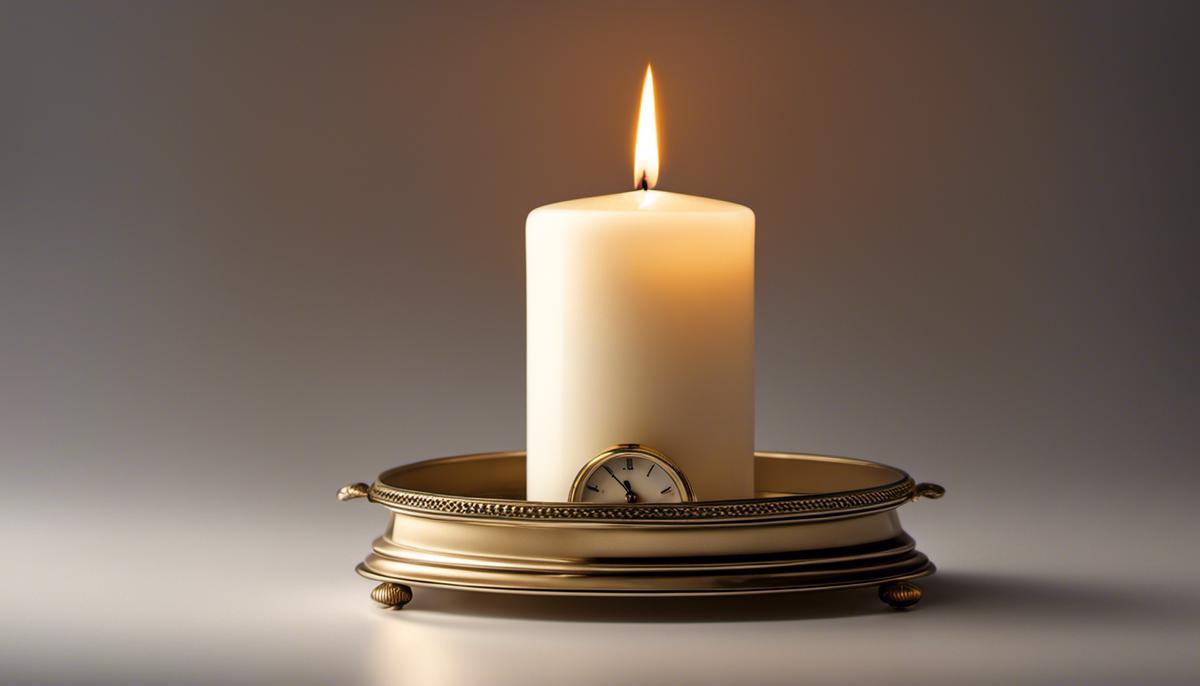
Trim the Wick
Imagine sitting in front of a blank canvas, your brushes poised, your palette of colors ready. A candle’s wick length can be likened to the handle length of your paintbrush, and just as the length of the handle impacts your brush strokes, so does the length of the wick influence the burn time and luminous intensity of the candle. To maximize burn time, keep the wick trimmed to about one-quarter of an inch. This step prevents any excessive, quick burning, thus allowing the flame to stay lit longer and maintain beauty and intrigue throughout the duration of its dance.
Follow the First Burn Rule
Analogous to the first stroke you make on your canvas – a stroke that sets the tone for the rest of the painting – the first time burning a candle is crucial. The candle should burn one hour for each inch of its diameter, allowing the melt pool to reach the edges of the container. This is to prevent a phenomenon called ‘tunneling’, where the wax along the edges remains unburned, thereby reducing the candle’s lifetime.


Directions Matter
Just as a painting displayed against an appropriately contrasting wall enhances its beauty, the location of a burning candle significantly affects its performance. Avoid placing the candle in drafty areas or near flammable items for safety reasons. A steady flame will burn more evenly, thereby increasing the burn time.
Use a Snuffer
When it’s time to extinguish your candle’s flame, use a snuffer or wick dipper rather than blowing it out. Extinguishing the flame this way reduces smoke and soot, allowing the wick to be readily used again the next time the candle is lit.
Take a ‘Cool-Off’ Break
Remember the pauses you took while painting, stepping back to assess your work with a clear mind? A candle also needs such breaks. After a candle has been burning for a while and the melt pool has reached about a quarter inch deep, it’s time to let the candle rest, cool, and solidify again before re-lighting. This will prevent overheating and help ensure a consistent burn.
Manage Leftover Wax
As you wouldn’t throw away your excess paint once your canvas is covered, similarly, don’t be hasty in discarding the tiny bit of leftover wax that doesn’t light anymore. Melt the leftover wax and create ‘new’ vintage candles, instead.
What unfolds through the steps above, resonates with the art of making candles – a mindful practice that teaches us patience, awareness, and the joy of seeing creation come to life, from a flickering dance of light that tells stories in the quiet of the night, to the peace it brings when safely extinguished, ready to begin another performance when called upon again. Now, that’s a beautiful canvas to depict, wouldn’t you say?
Embracing the craft of candle making not only nurtures your artistic intent but also provides the opportunity to indulge in a mindful, relaxing activity. With an understanding of the basic materials, a clear vision of the process, and determined adherence to safety guidelines, you can create visually appealing and long-burning candles tailored perfectly to your taste. Remember, the candle making process is about more than just crafting an object, it’s about illuminating a little corner of your world while fostering an enriching sense of accomplishment. Here’s to many more discoveries in your candle making journey!